


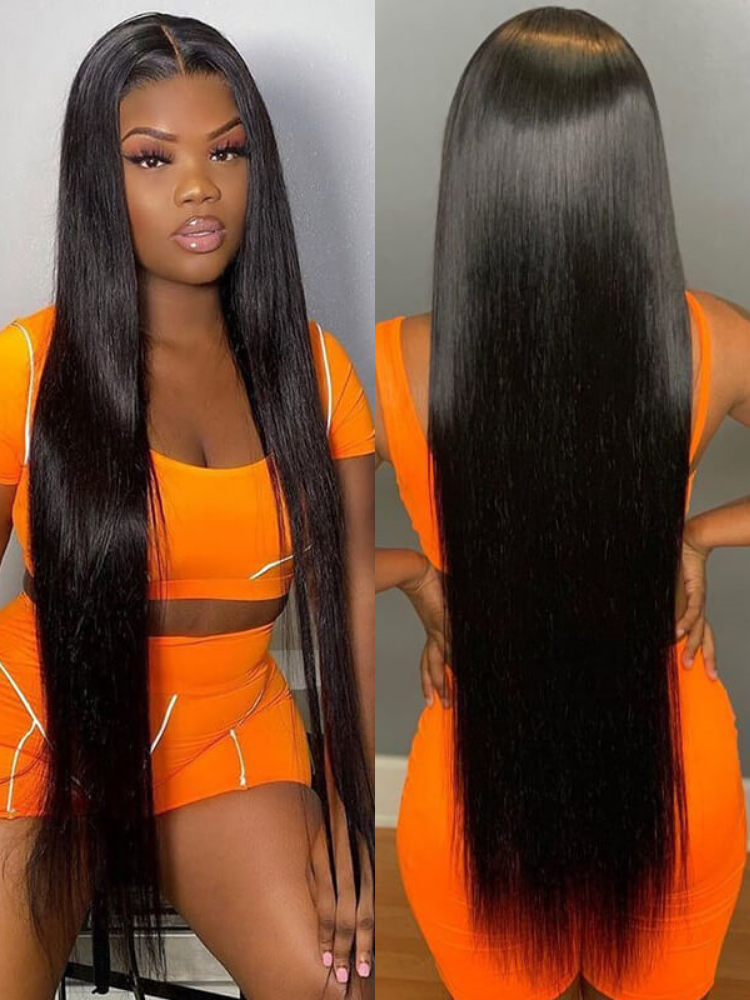


We are all acknowledged that the wigs could create the unique styles and personalities, as well as protecting our natural hair. So how to achieve a glamorous glueless installing would be a subtle torment, don’t you think so?
The glue could block the scalp pores, then lead to damaging the hair follicles, also prevent the hairline growing, with time going on, it would be thin, and ultimately leads to hair loss.So the glueless lace front techniques, here for you, well let's get started.
Let’s Prep the Hair
Firstly, try to get your hair a flat and smoothed down state as possible. The options vary based on your hair length, type and texture etc.
>For Fine Or Short Hair(deep wave vs body wave)
If your hair is on the finer side or even short, you can simply comb it back into a ponytail or braid at the nape with a few bobby pins.
>For Thicker Longer Hair
If your hair is thick or long, that’s best to cornrows braid, just straight to the back will suffice. You can then pin your hair up.Then put a wig cap on; however, it is not indispensable. When the lace could not match your skin, you should wear a wig cap that melt with your skin complexion better. Doing so will help you create a more natural looking.Now that your hair is nice and flat, it’s time to apply your lace closure. Here are the different methods
Method one: Using Clips
Wig clips and combs are incredibly inexpensive. Both wig clips and wig combs attach to your natural hair almost like a barrette will. They are best used when the wig like deep wave wigs already has a nice, snug fit.
Step One: Turn your wig inside out. Pull the hair on the wig into a ponytail or place a clamp around it so that it does not get into the way when you start to sew the wig clips on to the unit.
Step Two: Thread the weaving needle using a thread similar to the hair color on the wig to make the wig clips less noticeable.
Grab one of the wig clips and place the bottom of the clips at the bottom, the middle portion of the wig. Make sure the teeth on the clips are facing you.
Step Three: Insert your needle underneath the lace wig and then through the hole on the clips. Now, move to the next hole and insert the clip through the hole and then back through the wig. Repeat this procedure until you have sewn through every hole on each full lace wig clip.Step Four: Place another wig clip around three inches away from the clip you have sewn onto the full lace wig. Repeat above to attach the clip to the lace cap.
Step Five: Turn the wig( sewed with blonde bundles) to the right side about an inch above where your ear would be and attach another wig clip in this place. Now, repeat on the left side of the wig. Do not attach any clips in the front of the wig, because it will show around your hairline and be noticeable.
Step Six: Flip the wig back into the right position and place it on your head. Insert the wig clips into your hair to secure the wig in place. Remove the hair clamp from the wig and style!
Method Two: Sew-in An Elastic Band
For the elastic band method, you can purchase an elastic band from your local craft store or leave us a note, we could ship the hair with a band, even we could sew-in the band before shipping the hair out. The band is then sewn horizontally across the back of the wig in the nape area.
This method could make your wig more flat. Especially when you order a little too big, this is the method for you.
So now, you should feel confident to buy a lace front wig! With proper installation method,
the glamorous& awesome look belongs to you in your wig.