


People wear wigs for a variety of reasons, perhaps because of the pursuit of beauty, or because of changing their mood. But if you are a new, there are still many things to learn, such as how to sew, how to install, how to wash and protect, and how to disassemble. Imagine if you're worried about being whispered by strangers in the grocery store or in the supermarket payment line, "is she wearing a wig? I guess it's not her own hair!" I'm afraid it will be the top three of your embarrassment list this year.

Fortunately, you can do something to disguise your lace front wig. Of course, it doesn't just mean you have to go out and buy the most expensive human hair wigs. Although a high-quality wig can make it look more natural, if you don't wear, disassemble and wash it correctly, it will soon become dry and irritable. It looks as cheap and unnatural as a synthetic wig.
Here is a tutorial to show you how to make lace wig step by step and how to make a very natural hairline! I guess a lot of people want to know how to do it. Then I hope this article can help you.
Preparation
First, you need something basic and necessary to make a wig.
The materials mainly include dome cap (select dome cap according to the size of head), needle thread or nylon thread, hair bundles and closure. Select the appropriate needle and thread, measure your head circumference, then make a pattern of the data, fix the pattern on the wig pad, and then cut the lace. Finally, fix the lace on the wig pad.
Sewing
Wrap the virgin's hair in a circle and tie it on lace. You will need a single knot or double knot part of the hair only from a few strands of shoelaces based on personal clearance to use your ventilation tool.
Hook the loop with your ventilation needle and pass it through a gap in the lace base.
Knot a few strands of hair at the cotton edge of the gap once or twice. Make sure the knot is fully tightened and closed so that the hair remains in place. When tightening the knot, you need to pull the entire length of the section through the knot.
Cover the Ribbons and sew the steel spring
Once you reach the top of the wig, you should mentally divide the top into six different directions and tie the hair evenly in each direction. You should have two parts that extend straight down from either side of the wig, and the other four parts should be evenly spaced between the two initial parts.
Cover the belt and sew the steel spring
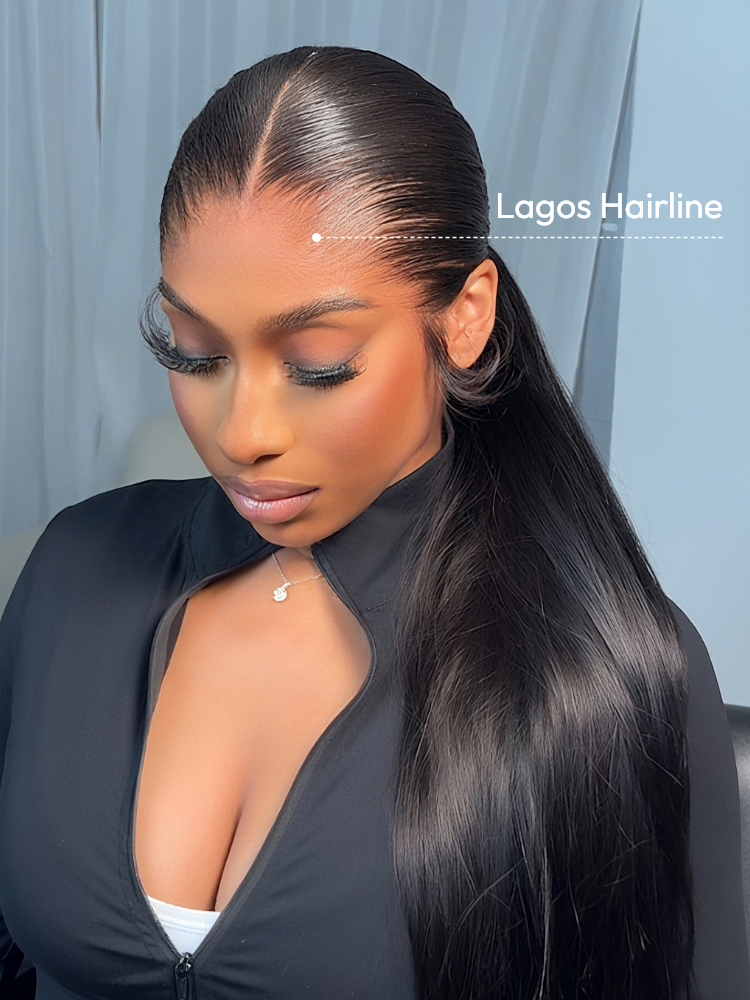
Now, please turn the wig over and sew your hair along the inner edge of the ribbon to prevent your hair from accidentally exposing. Use thread and needle to sew short steel springs around the temples, neck and forehead of the wig. But you don't have to worry, it can be well hidden under your hair.
Parting and styling of wig
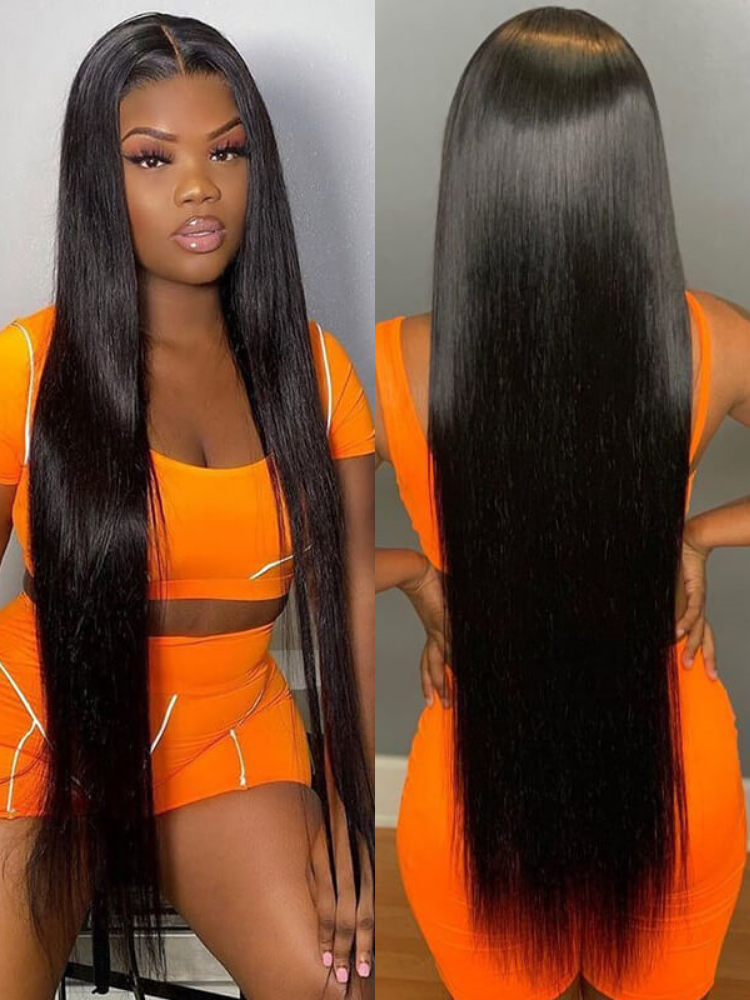
After sewing hair, you can trim and design your wig like your own hair to realize your imagination.
However, styling their hair can be a big problem for new. If you also encounter such problems, please do not hesitate to find a professional hairdresser to help you do your hair.
After wearing the new wig, carefully pull out several strands of hair with tweezers and cut them short with baby scissors to make them look like they have just grown from the scalp. Finally, you have a perfect wig. Try wearing your wig, do you like it?
Please remember to wash your wig with shampoo at least twice a week, which will avoid hair knotting and make your wig look fresh, shiny and healthy. Don't forget to condition the wig after wash, and really important that wash it clear after all the steps.
This is the end of the article. Have all the beauties gained anything? Leave your thoughts in the comments area and we will answer them for you! Thank you. Bye!